How to Use Roughness Maps in Lumion (With Pictures)
For the first several months I was using Lumion I didn’t think it was possible to load a roughness map into a material. This was very frustrating, as in my mind roughness maps are essential to realistic renders. After a little bit of searching, however, I found a method to actually load and use roughness maps through the normal map in Lumion!
Roughness maps can be used in Lumion by applying the roughness map to the alpha channel of the normal map.
Lumion has the ability to mask reflections, clip objects, or mask emissiveness, all through the alpha channel of the normal map.
What we’re concerned with today is the ability to mask reflections.
To do this, Lumion makes use of alpha channels.
Alpha channels are essentially graphical maps that relate directly to your image, but aren’t seen.
“Alpha channels are essentially graphical maps that relate directly to your image, but aren’t seen.”
Alpha channels are used frequently as a method of reading transparencies in an image. If you’ve ever used a PNG to preserve transparency in an image, that PNG is making good use of alpha channels.
In this short guide, I’ll show you how to create normal maps that host roughness maps in the alpha channel, and how to use that in Lumion.
This can be accomplished in many different photo editing softwares, but I will be using Photoshop.
Step 1: open your normal map and roughness maps in Photoshop
Accomplishing this guide is of course reliant on having both a normal map and a roughness map. Any good website that lets you download materials or textures will give you both of these. My personal favorite is AmbientCG. At AbientCG, any material you download will give you a normal map and roughness map, along with several other maps that we don’t need today.

Optional:
An optional step here is to enhance your roughness map. This means tailor it for your project. Let’s say you don’t just want that clay roughness map, but you also want scratches on your pot. An easy way to add these is to download a scratches roughness map, to place it over your existing roughness map in Photoshop. Then scale it (CTRL+T) until you’re happy. Now change the opacity of the layer to achieve the right mix of scratches in comparison to the other roughness maps. Once you’re happy be sure to merge layers to have the roughness map in one layer.
Step 2: Copy your roughness map into your normal map
This step’s the clincher.
First, select your entire roughness map (CTRL+A).
And copy it (CTRL+C).
Next, move into your normal map (should already be open in Photoshop from step 1.)
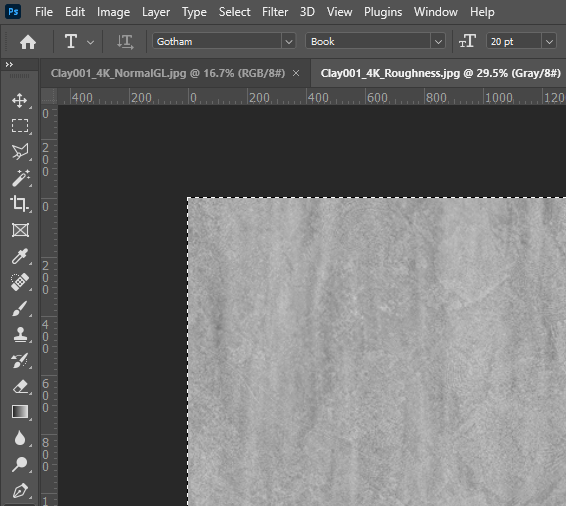
Once in your normal map select Channels. This is normally on the right of the screen next to Layers. If you can’t see Channels, be sure it’s selected until Window > Channels.
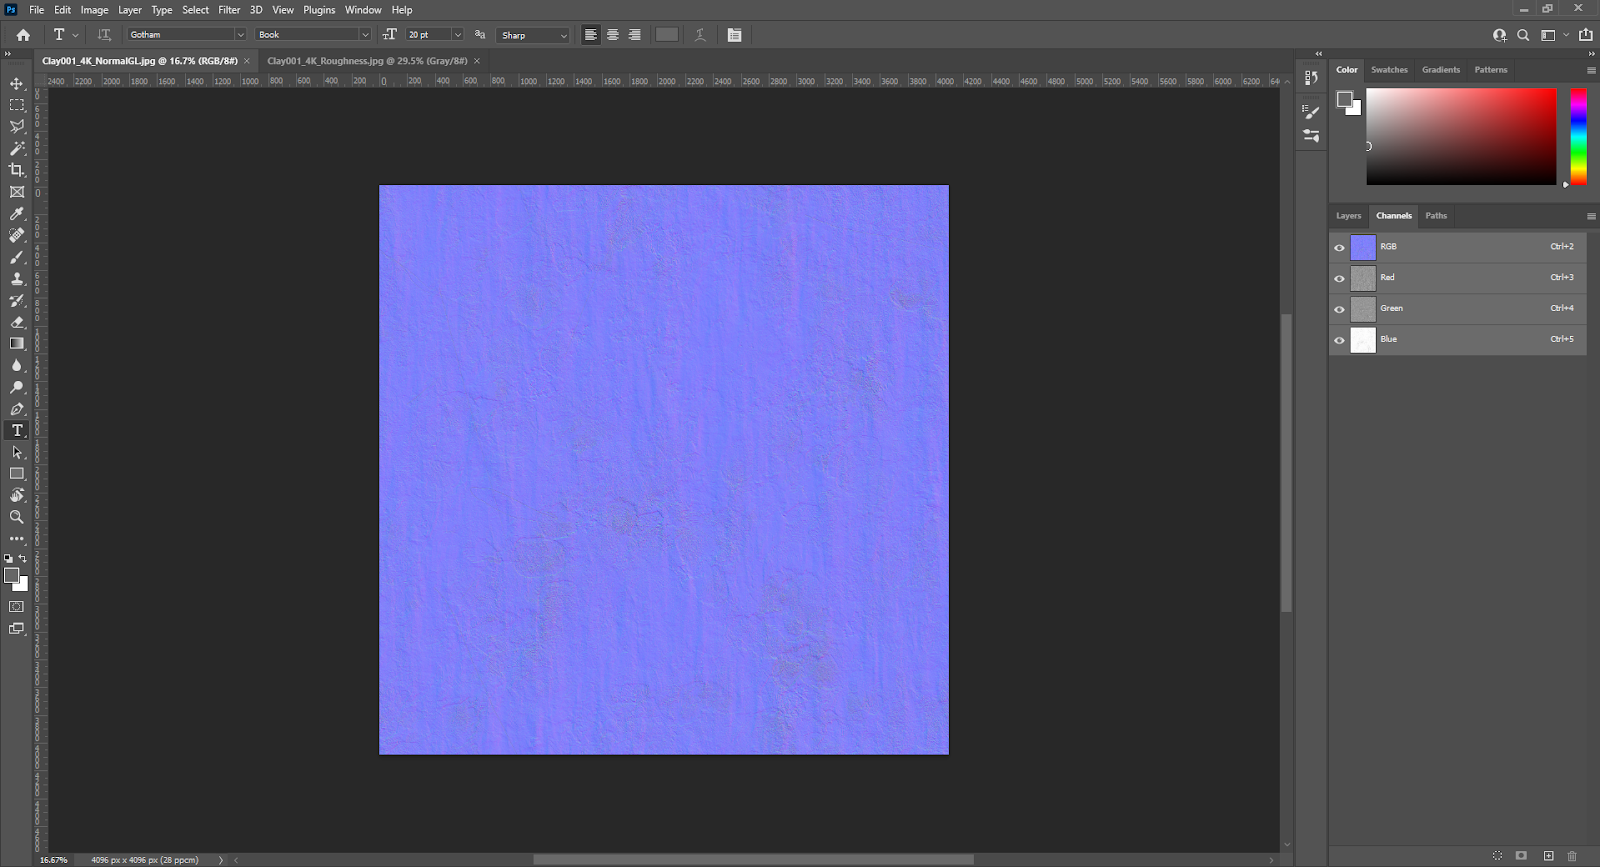
Once you can see your channels, select the + icon on the bottom right to create a new channel.
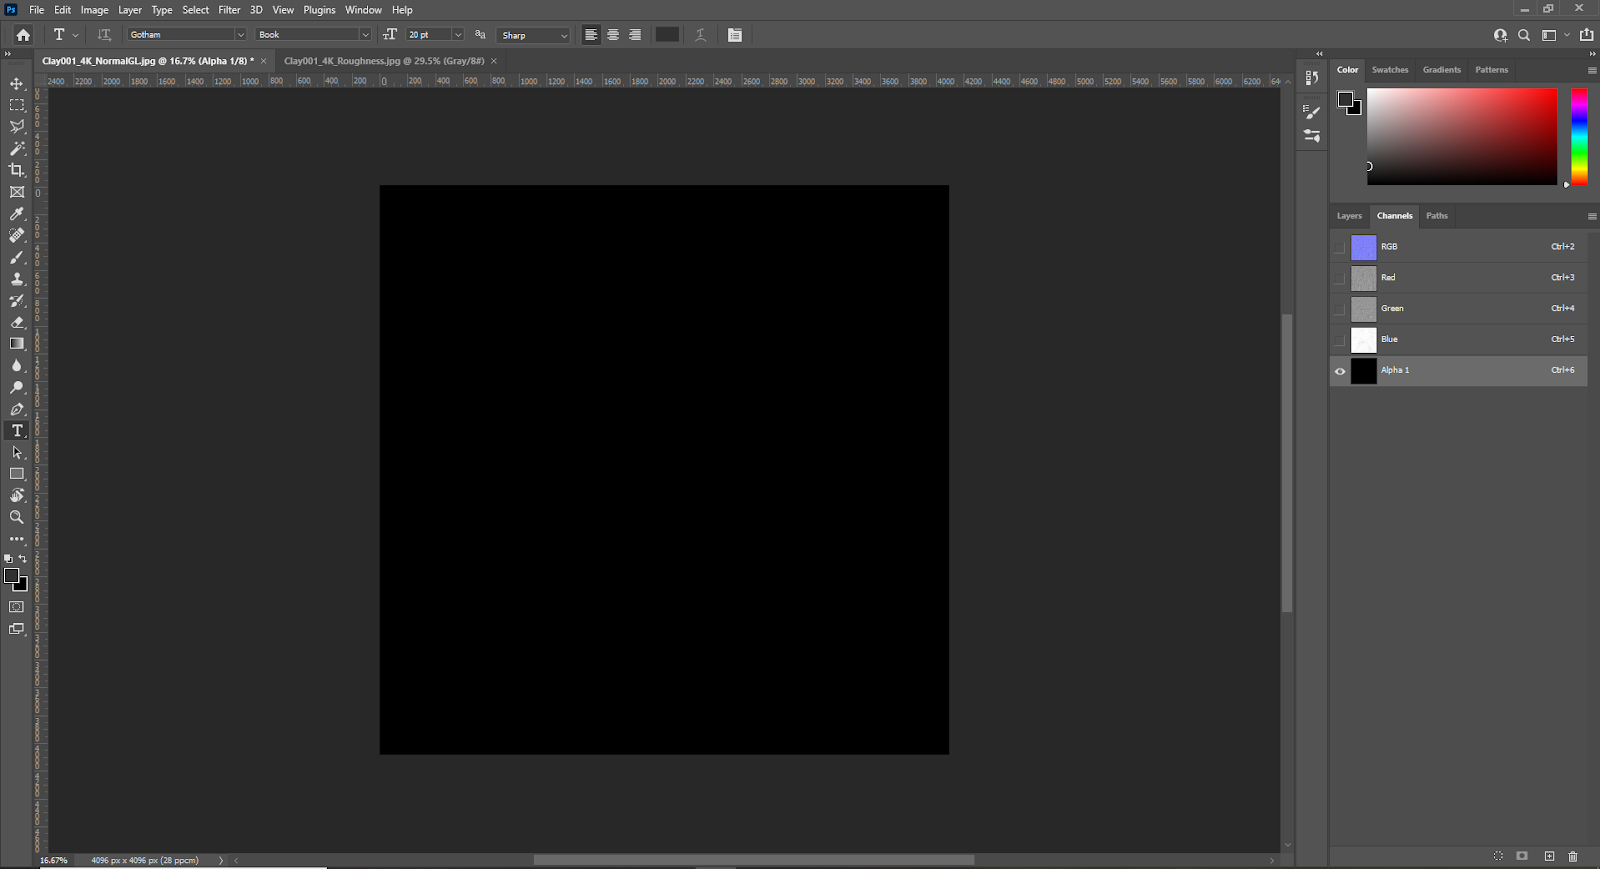
With this channel selected on the right, paste your roughness map into the channel. (CTRL+V)

Ta-da! Your screen should look something like mine, with the new channel selected, and the roughness map visible!
Step 3: Save your new Normal Map
Now we need to save our new normal map which has our roughness map in the alpha channel.
Go to file > save a copy
Find the appropriate place on your computer to save your new normal map.
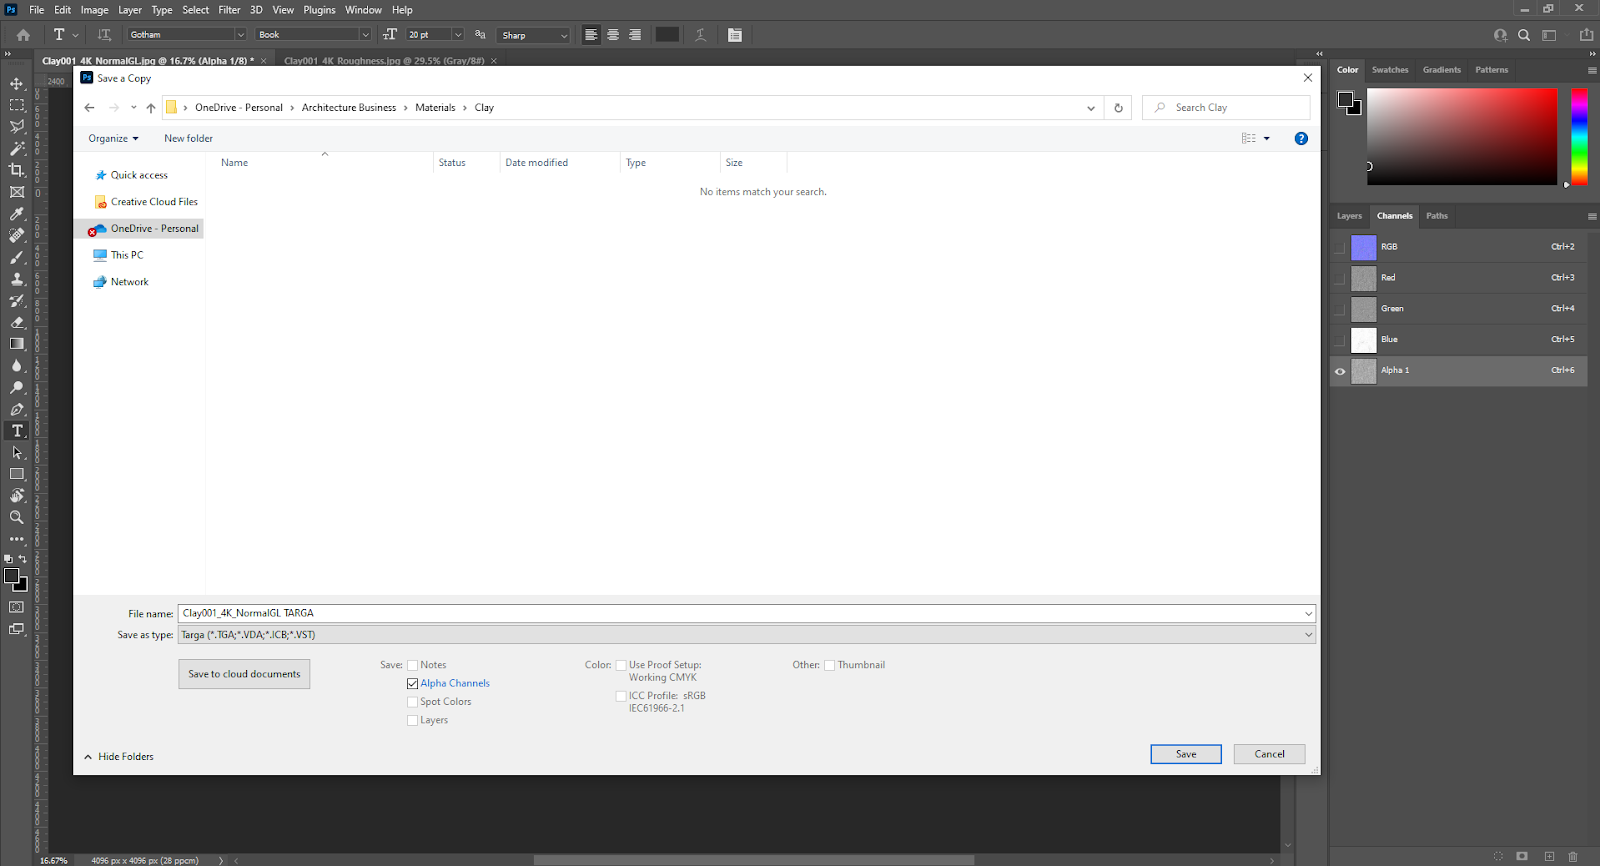
Once there, change the file type to Targa.
This step is crucial. Most file types can’t read alpha channels – they don’t know what they are. Targa files, however, can. And they can be loaded into Lumion. With Targa selected, make sure ‘Alpha Channels’ is also checked.
Now save your file here. You may be prompted to choose a resolution, I always choose 32 bits/pixel.
Step 4: Load the normal map in Lumion
You probably knew this was coming, but it’s still important!
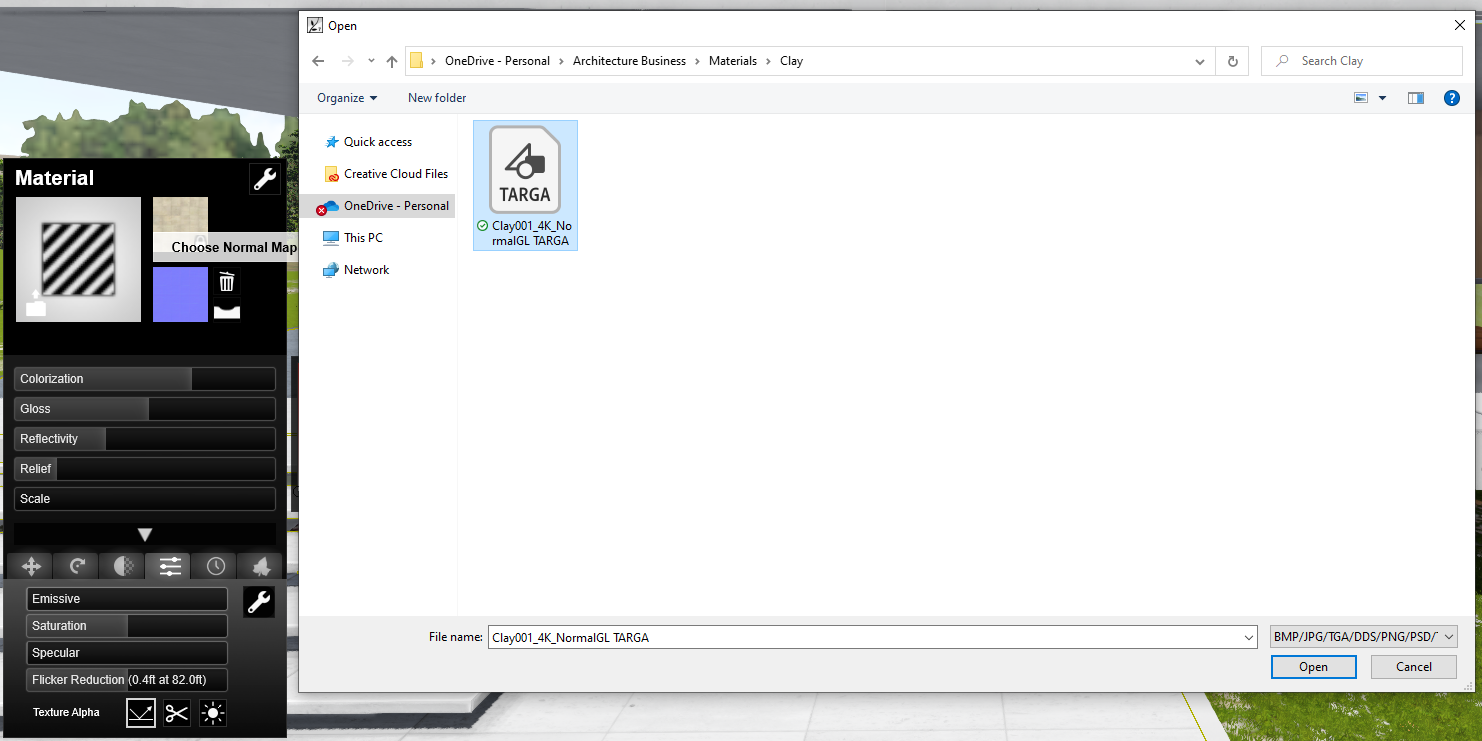
Now open up Lumion, and under your material’s normal map, choose the Targa file we just created.
Make sure that under ‘Texture Alpha’ you have ‘Masks Reflectivity’ selected.
Make sure that under ‘Texture Alpha’ you have ‘Masks Reflectivity’ selected.
And bingo! You’re good to go!
The gloss and reflectivity sliders still work, but the material will reflect at a proportion of the roughness map you just loaded in through your normal map.
Use cases:
All this information is good and well, but it’s important to know when to use it. I like to use roughness maps on anything I am viewing up close, as well as key materials that would greatly benefit from a roughness map. Common uses for me include:
Rusty Metals
This one is a big one. Metals may be incredibly shiny all over except for the small part of rust. Having a roughness map is essential for a realistic rusty metal.
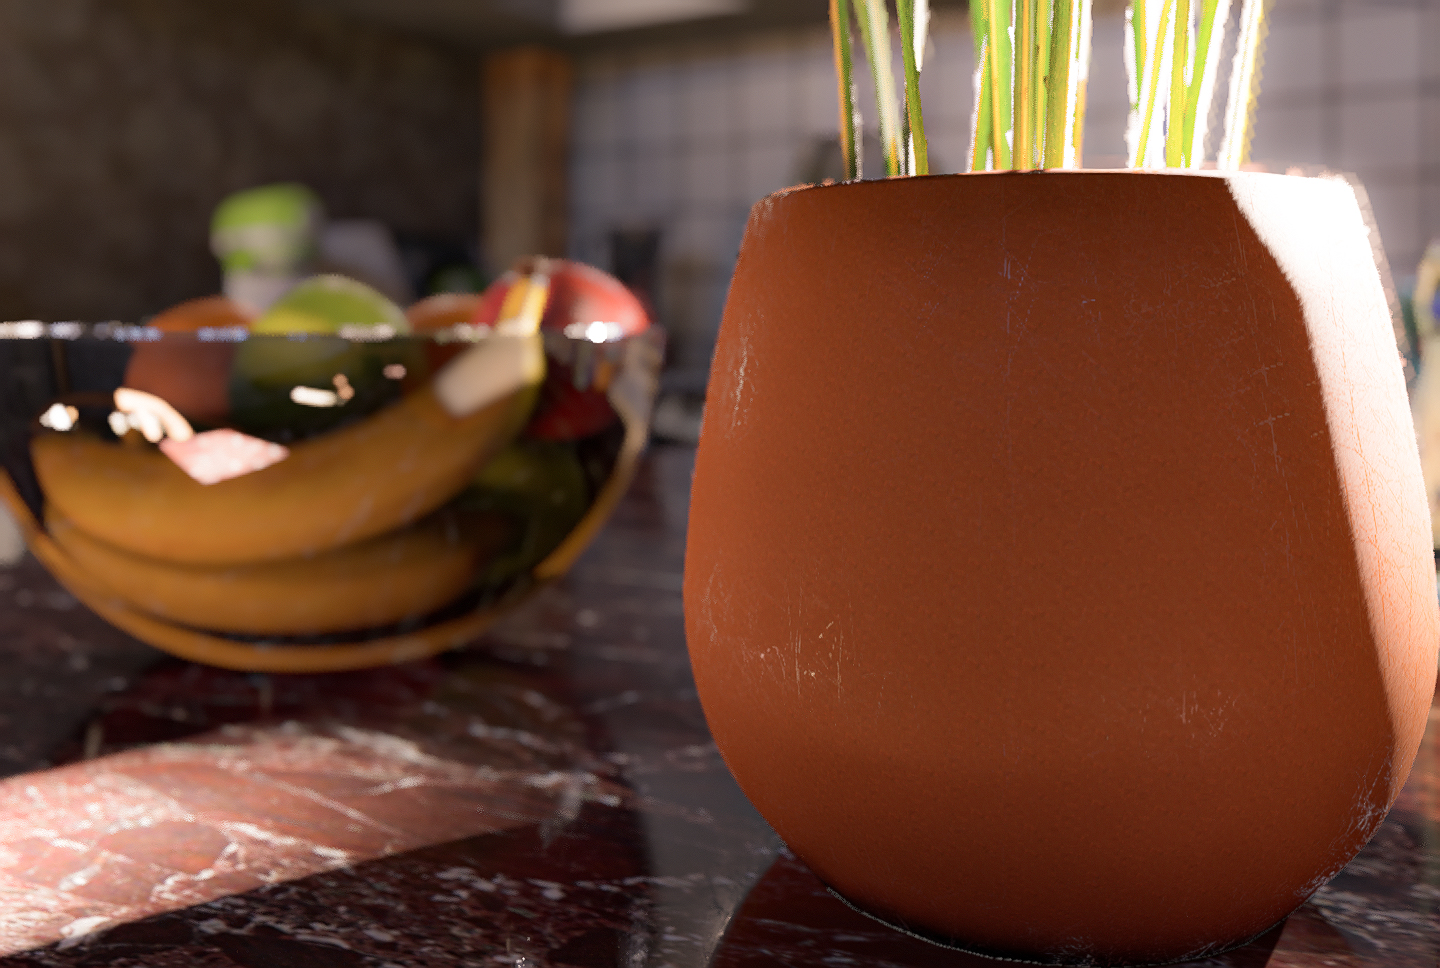
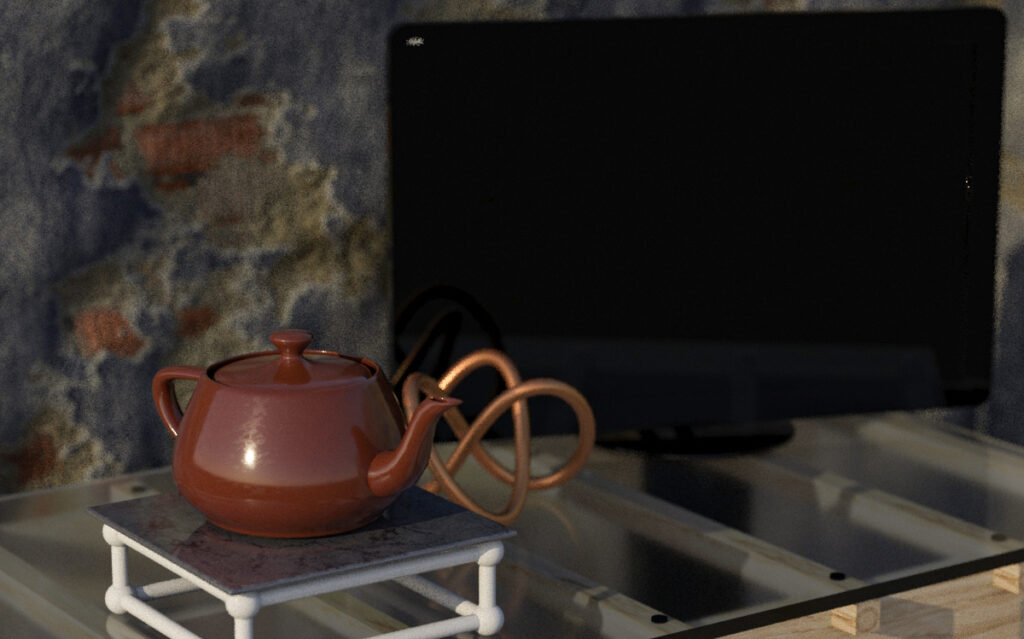
Ceramics
Ceramics are rarely uniform. You can see in my pot I rendered above how just a few scratches that pick up the light can massively help to increase the believability of that pot. Where the light catches those scratches is completely from the roughness map, not from the normal or color map at all.
Wet Spots
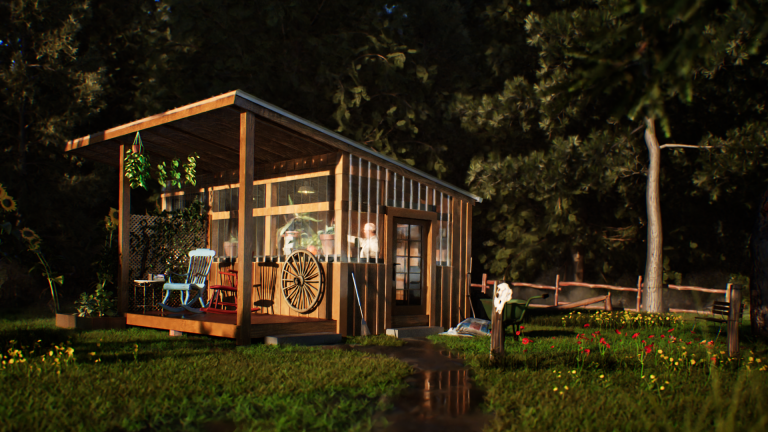
We see this one a lot. Probably the most common time it’s used is on roads, to simulate puddles and wet patches. If you’re ever driving on a normal, tarmac road take a look at the puddles. Puddles and anything that is wet can be super reflective.
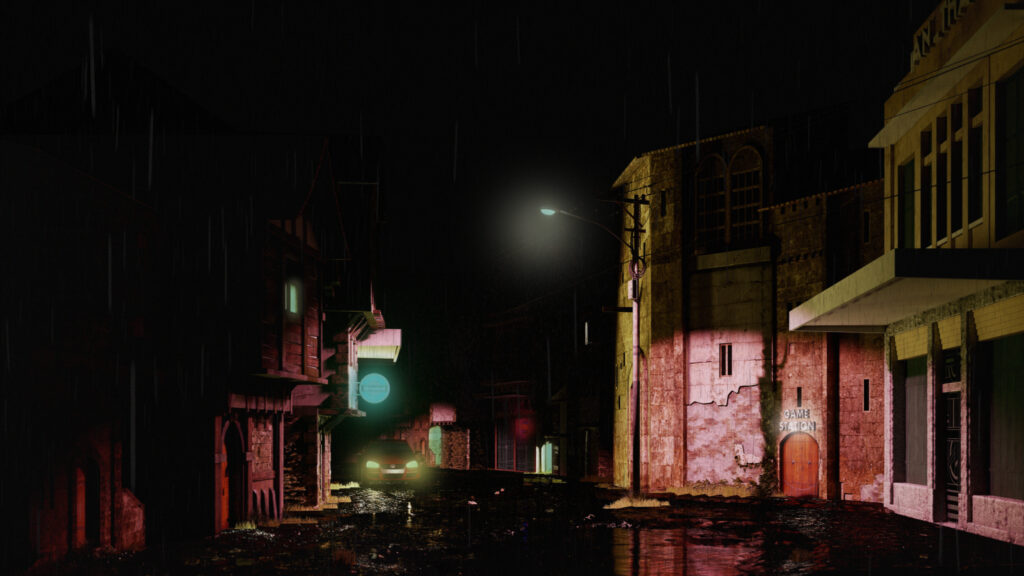
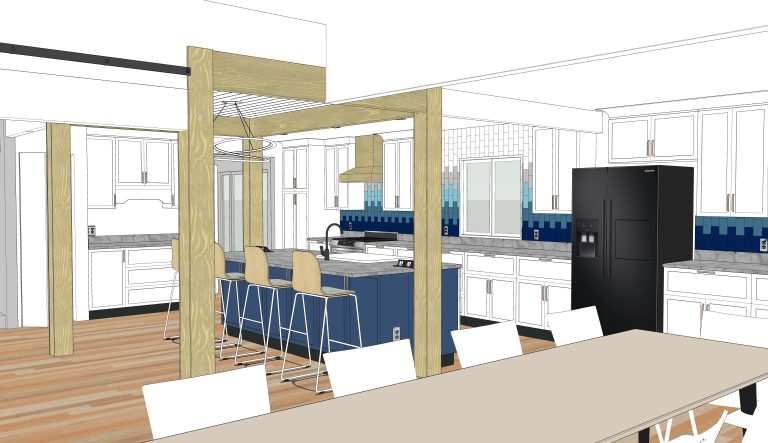
Take this render above for instance, done fully through Sketchup and Lumion. At this stage I haven’t touched it in Photoshop yet. Note the puddles in the foreground. This has been accomplished by a mixture of modelling the puddles (simply a rectangle moved into the parts of the road that drop down), and using a road material with a decent roughness map.
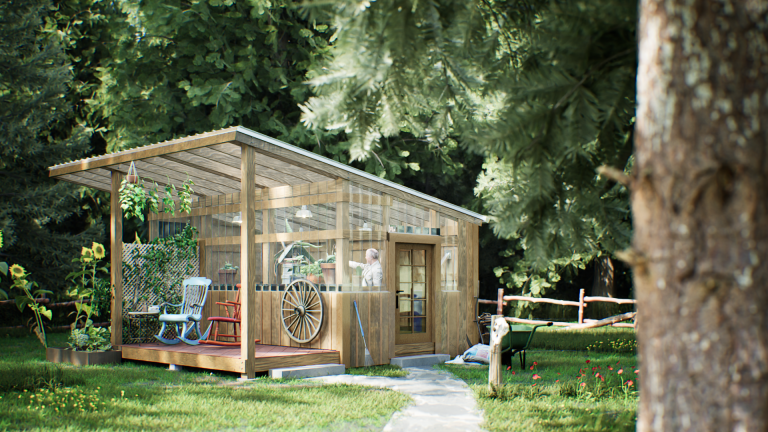
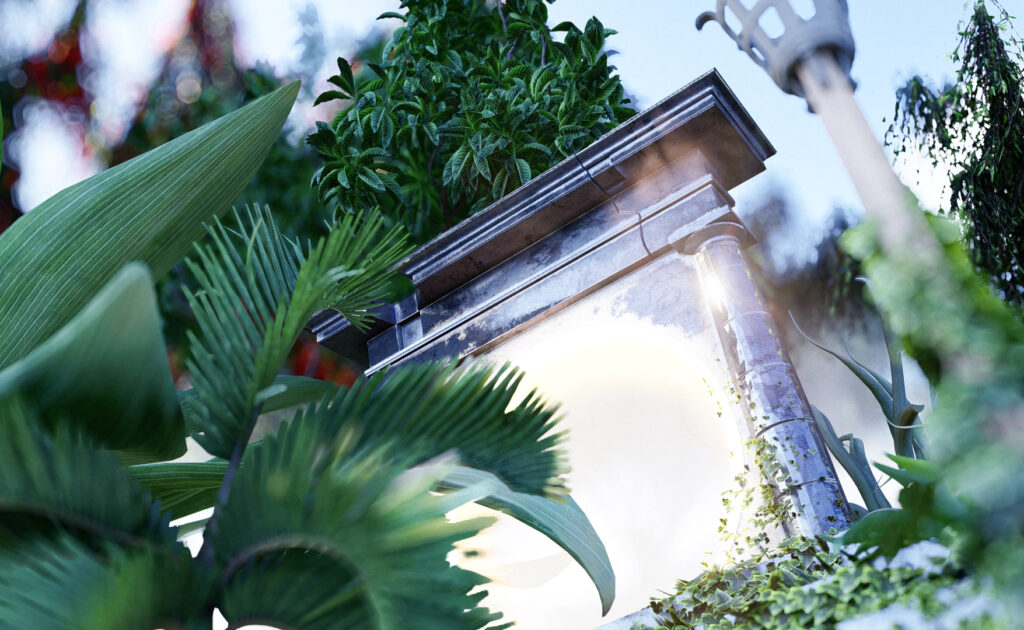
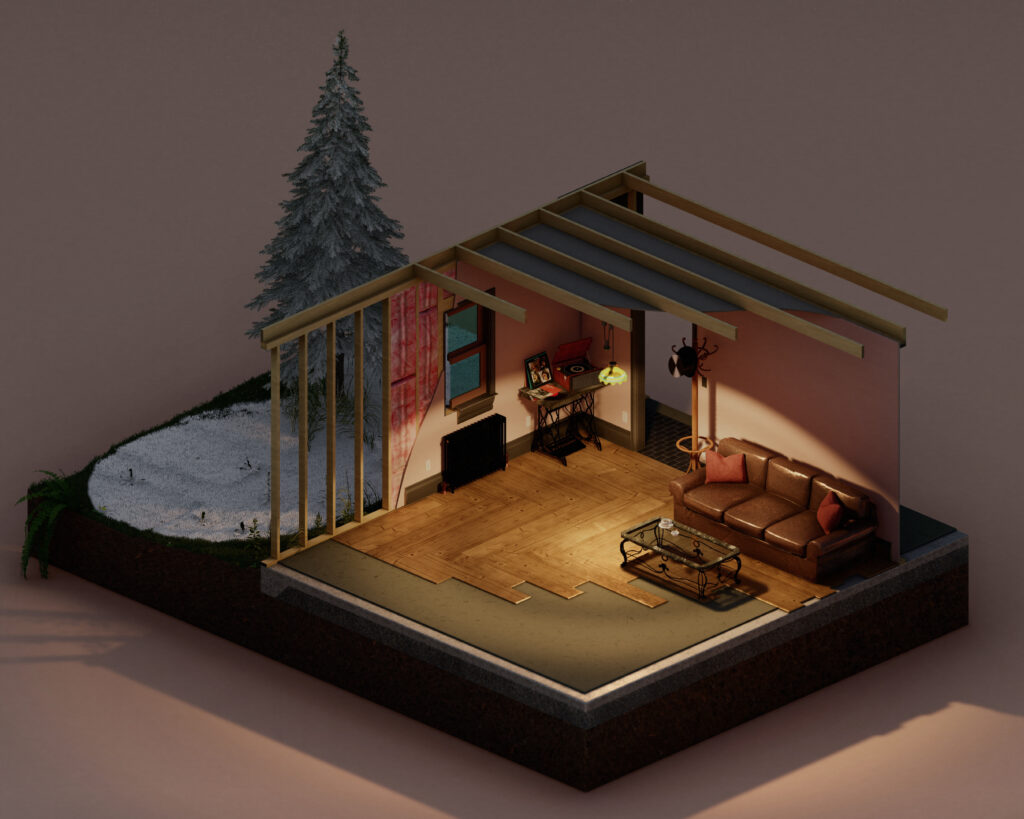
And there are plenty more situations where roughness maps help with realism. Here is a much more typical render, where roughness maps are on almost every material, but subtly. It is used, not as a dramatic ‘look at me’ sort of statement, but just to help move the render towards a higher degree of believability.

Note that this render is still a work in progress, don’t judge me too hard!
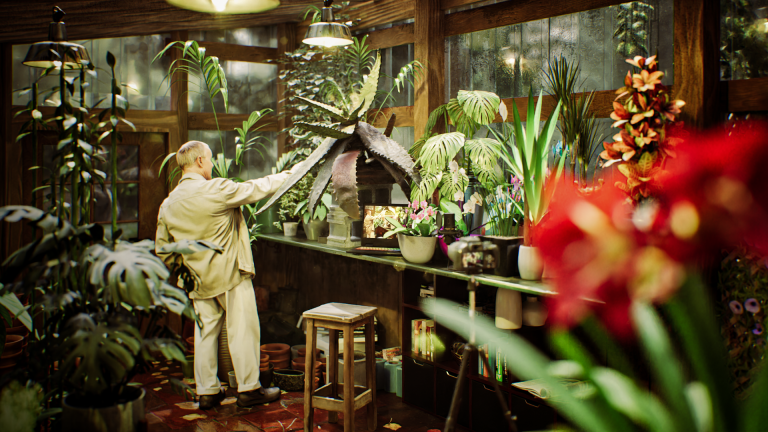
But it is easy to see how roughness maps can be quickly overdone. Take the desktop for example. That roughness map is meant to just show that the metal is not brand new. But it looks super grungy. That’s not at all what I’m going for. In this situation I need to go back to Photoshop, turn down the contrast on my roughness map, make a new Targa file, and re-upload it to Lumion.
In this situation I need to go back to Photoshop, turn down the contrast on my roughness map, make a new Targa file, and re-upload it to Lumion.
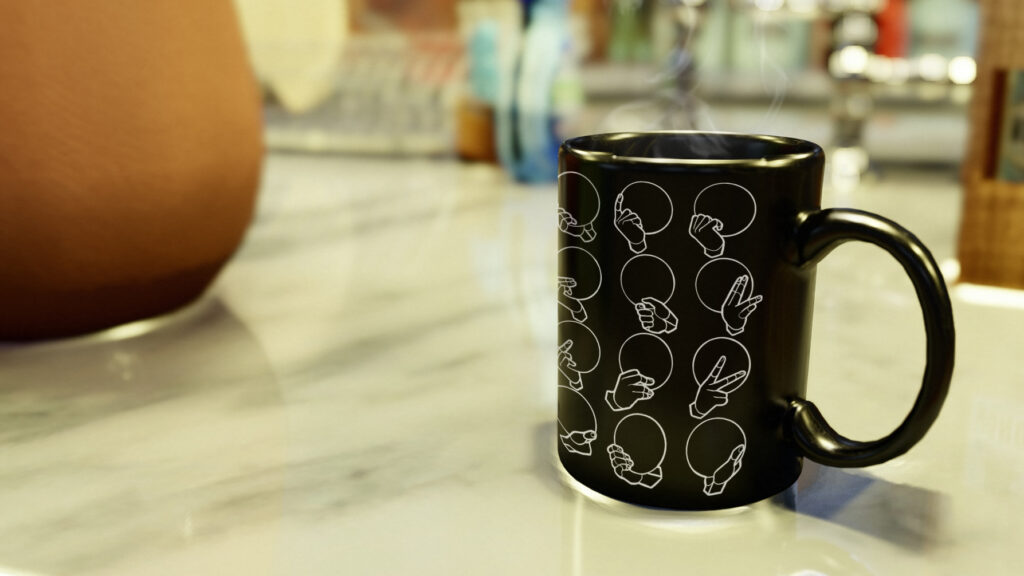
What is turning out well here, however, are materials like the brick, the wood on the desk, the mug, and the marble statue on the right. These all are making subtle use of roughness maps to help generate a ‘lived in’ feel in this studio.

Subscribe to our newsletter for short and helpful industry tips!
![]()